


Not every project will require a retaining wall. In our case it is necessary because we did all that grading to lower the floor level of the new garage. This means that the bottom 3 feet of the garage wall will be below the surrounding grade of the front yard. A concrete wall is required to hold the dirt back. Mike Rossi is our masonry expert, assisted by Sam and James.
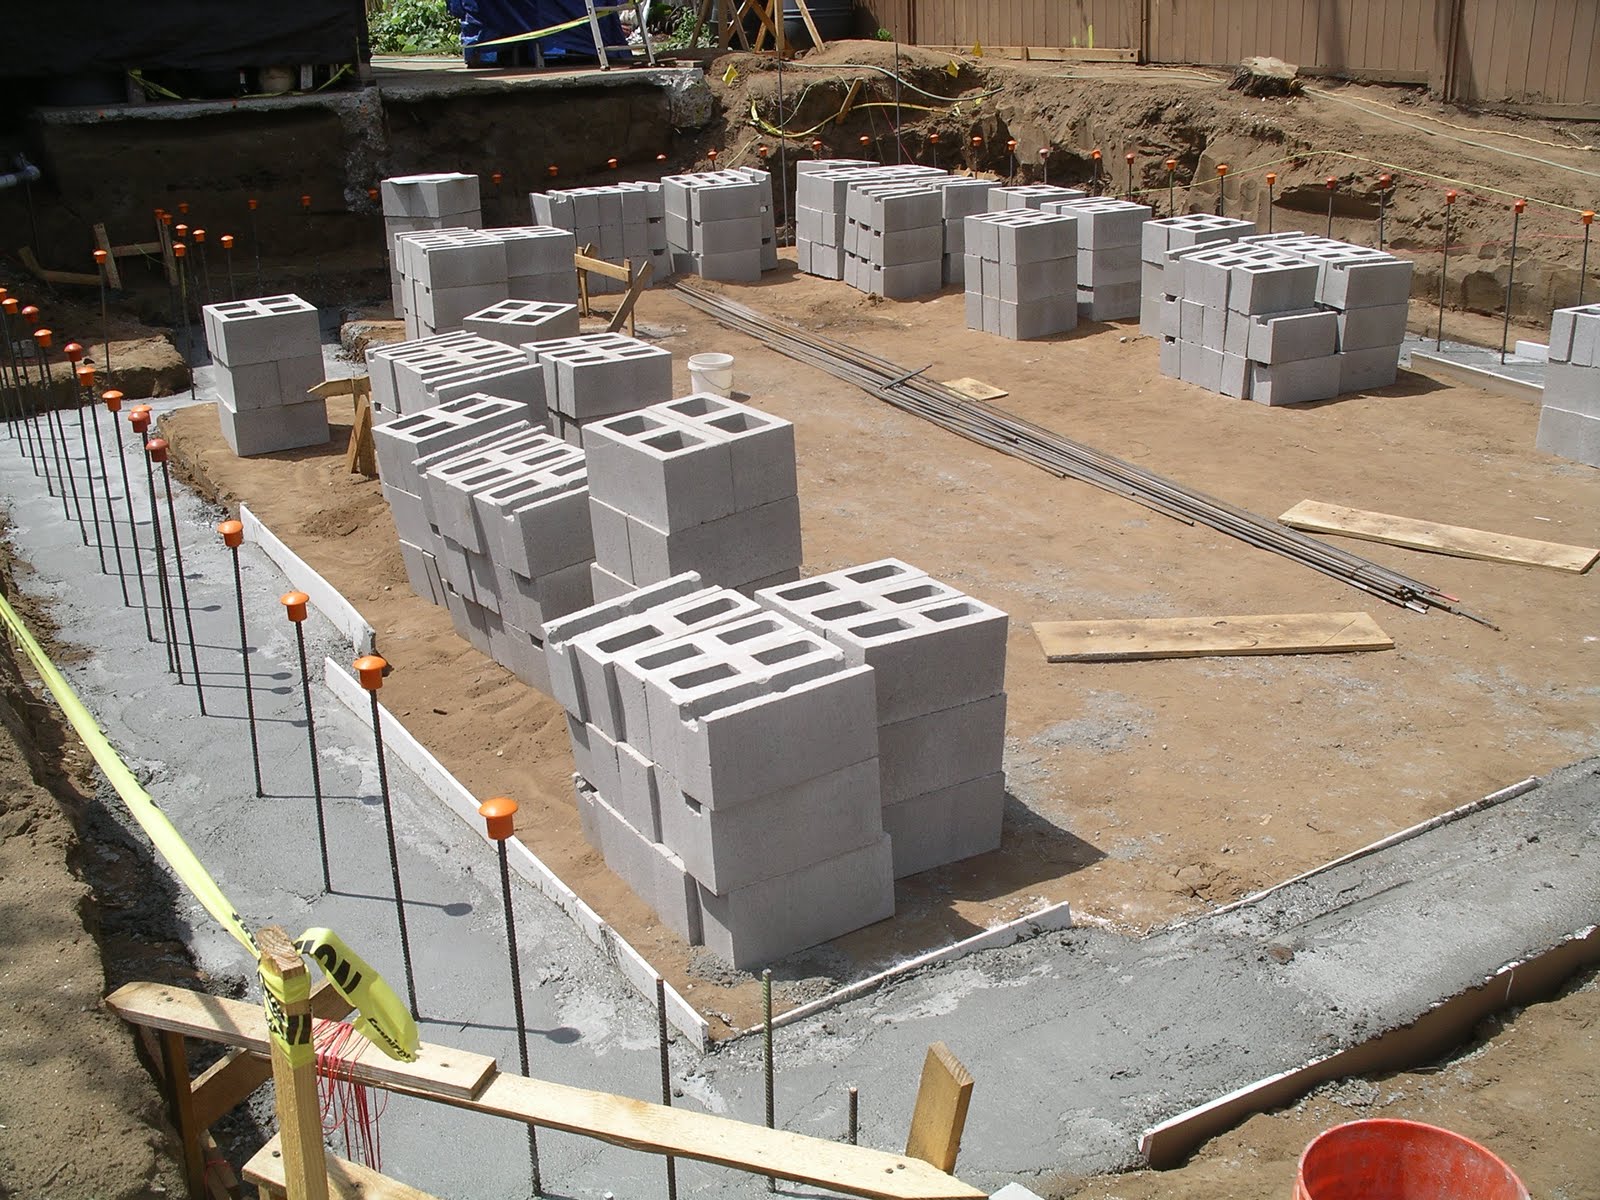
The first step was getting the block delivered from RCP. Next, Mike and Sam laid out precise marking lines to indicate where the blocks will go. It's critically important for the blocks to line up with the vertical rebar so that the rebar ends up inside the cells of the blocks. They began laying blocks on the corners and then filled in to complete the first row. Our design called for 8 inch wide blocks on the first row and 6 inch wide blocks after that which was a little trickier to do. The blocks are put together with mortar which is like concrete but has no rock in it so it's not as strong. Its purpose is to hold the block together until it can be filled with concrete. The mortar was mixed on site in a small electric mixer.
After the first row was done they began building up the corners to the top level. Then they filled in the rest. In about 3 days it was all done, but at that point the blocks are hollow and only held together by the mortar. We can't fill them with concrete (grout) until the wall is inspected again.
Inspector Steve came the next day and gave the okay to grout the block. Mark called both Superior and Kennedy pumping to schedule a pour for the following day.
No comments:
Post a Comment