Thursday, July 28, 2011

Step 31.1 - Hanging Drywall


Henry Repsher and his 2-man crew arrived bright and early this morning and started hanging drywall. They started with the ceilings and then went to work on the walls. Henry focused on the more detailed areas such as the arched doorways and patching the holes that were made here and there.

In the laundry room green board was used on the lower half of the walls. It is water resistant drywall and is used in kitchens, bathrooms and other places where there is a high probability of walls getting wet.

It is amazing the effect that drywall has. It makes a room look almost finished even though there may be lots more work to be done. It also affects the perception of space and size. The office looks smaller to me now while the living room looks larger.

Henry and his crew have at least another day of hanging, followed by a week or two of taping and mudding.

Wednesday, July 27, 2011

Step 31.0 - Preparing for Drywall


Getting drywall (aka sheetrock, wallboard, plaster board or gypsum board) is a major milestone for any remodeling project because it finally puts the walls back together the way they are supposed to be. Also, drywall is fire retardant so it is important for home safety and code compliance.

A lot of older houses like ours did not have drywall when they were first built. Instead, they used button board lath and plaster. We will have several places where new drywall will have to butt against old plaster. The drywall hangers will have to be skillful to make it look seamless.

Before the drywall is hung the stud walls have to be straight. No matter how hard a carpenter tries to get the studs straight, they will twist, warp and move around after they are nailed in place. Drywall has a surprising amount of sag or flex so if it is hung over uneven studs, the resulting wall will be wavy and unattractive. In order to have straight, flat walls the studs have to be checked and either planed or shimmed if they are not perfectly flat. Planing is done with a small hand planer. The shims are thin strips of gray cardboard that are stapled to the studs to fill gaps.

Another preparatory step is protecting all surfaces that could get damaged during the drywall installation. The really messy part is the mudding when joint compound is applied. After that, sanding creates a lot of dust. So the floor and other surfaces are covered with paper, cardboard or plastic sheet and taped really well.

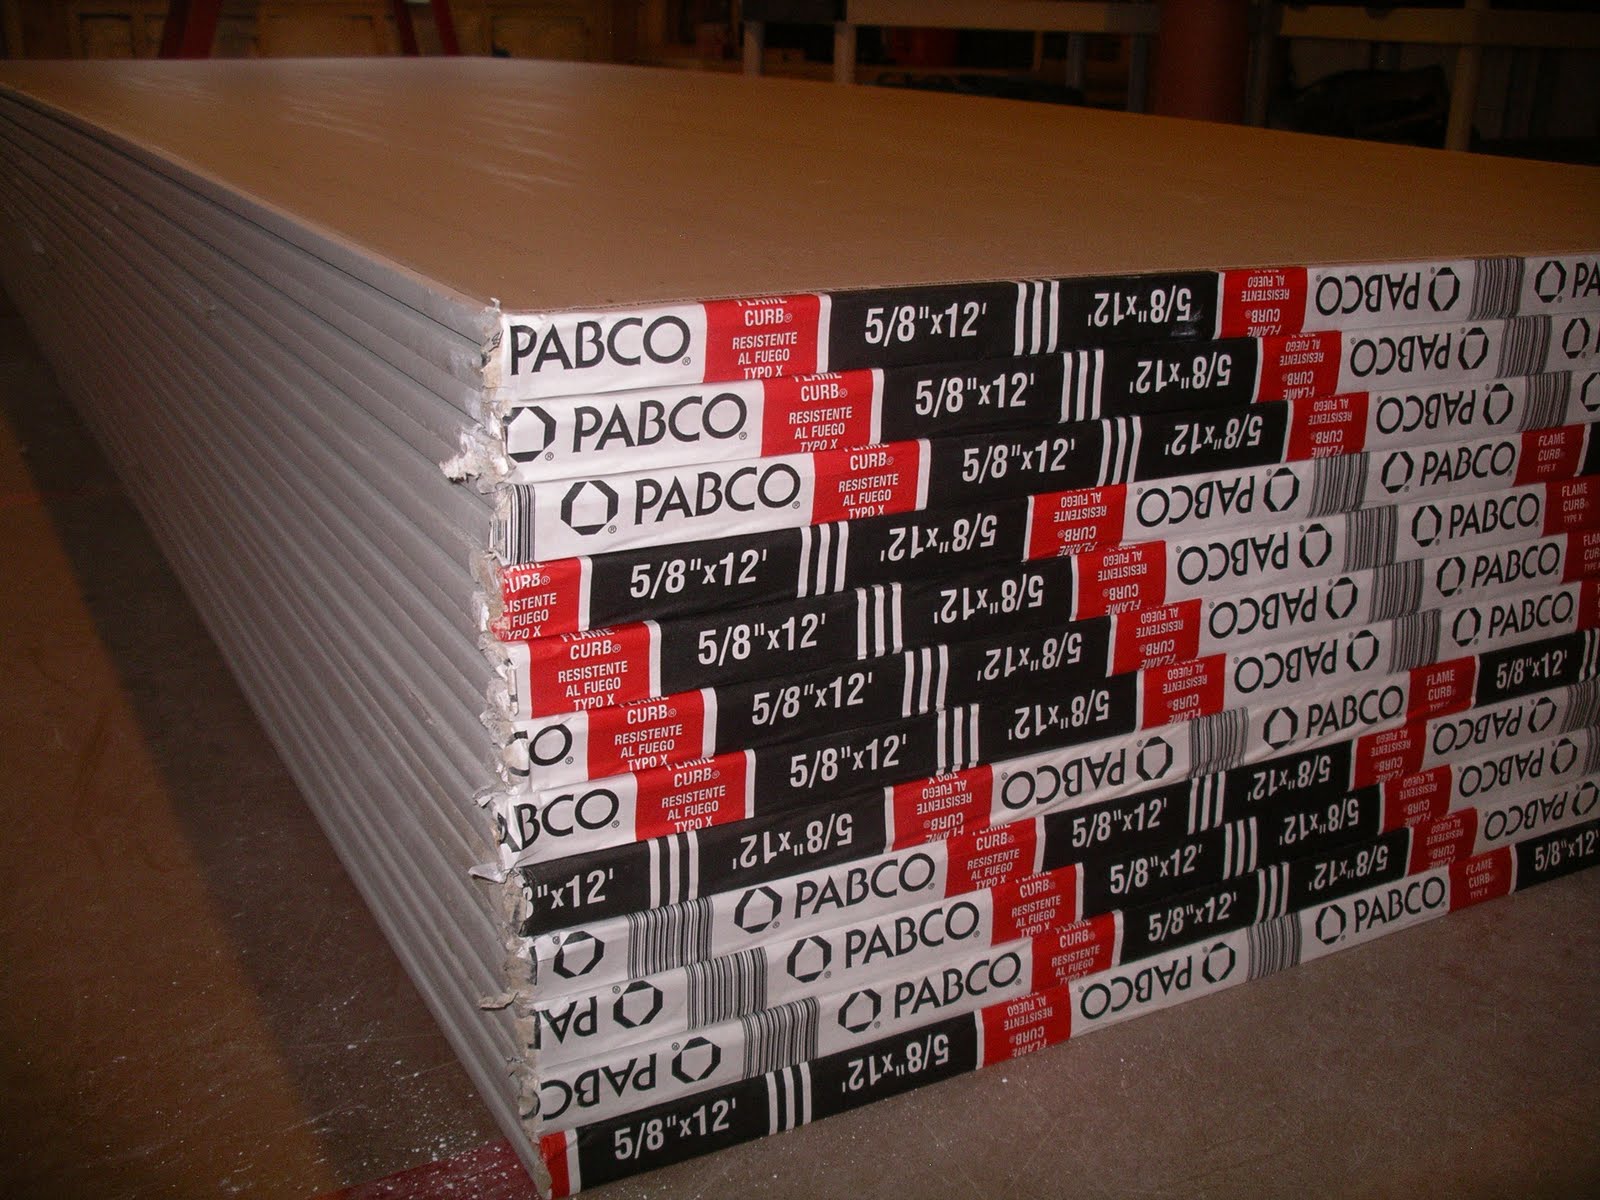
Today the drywall was delivered by Escondido Building Supply. We got 95 sheets of 5/8" drywall. The sheets are 4' x 12'. About half of it was stacked in the garage and the other half was stacked in the living room. Tomorrow is drywall hanging.

Monday, July 25, 2011

Step 30 - Insulation

Drywall is just a few days away, so today was insulation day. J&L Insulation did the job for us. Previously we had insulation only in the walls of the bedroom addition that we did in 1995. We had none in the attic, and that was a moderate problem. This was our opportunity to get the whole house insulated well.

J&L started with caulking all the exterior walls at the plate line. At the same time they started hauling in huge bales of insulation material. They did the existing attic first, then the new roof area and finally the walls. We didn't put any insulation in the garage. We noticed that the house became a lot quieter with the insulation in place.

I took on one task while the guys where putting in the insulation. I went around to all the new anchor bolts and checked them for looseness. Some of the nuts had become looser since we first put them on due to a variety of factors. So I cranked them down as tight as possible. After the drywall is up it won't be possible to do this again.

J&L finished the whole job by noon. We now have R-30 in the attic and R-13 in the walls. I think it will make a tremendous difference in our comfort both summer and winter.


Saturday, July 23, 2011

Step 29 - A Couple of Details


This post will focus on a couple of details that don't fit into other categories. These are the gable end vents and the ladder for the garage loft.


The vents were built of redwood by Mark Stanfield according to a special design by Pat Sheehy. The smaller of the two was finished first. It went into the front of the California roof. The larger one went into the front of the garage. These types of vents were typical of houses from 100 years ago, before metal and plastic became the preferred materials. They contribute to the illusion that this is a house from 1900 rather than 1950.

The second detail is a pull down ladder for accessing the loft in the garage. We bought it from Industrial Ladder Co. It makes the loft feel like a secret hiding place. Mark and Al installed it.

Step 28 - Front Door


Our new front door was made by T.M. Cobb. We bought it through Sierra Padre Mill in Encinitas. It features red oak veneer and classic craftsman styling. The sidelight is openable. Mike Gregg has stained it and put a first coat of urethane finish on it. He will complete the urethane finish after the drywall is done and there is less chance of getting it damaged. We think this door is the perfect complement to our windows and shingle siding.

Step 27 - Siding, part 2


Over the past week Mark Stanfield, Mark Oleson and Allen Frazer have completed about 90% of the siding. We have decided to use more shingles and less board-and-batten because the shingles look so great. There are a few areas that still need to be sided, such as the rest of the chimney, the north wall of the laundry room, and the master bath wall that had to be opened up to fix the plumbing. Those areas will be finished in the next week or so. Mike Gregg has put one coat of paint on the board-and-batten.

Step 22 - Roofing Completion


Brown Roofing had only one task to complete their work. This was edge treatment of the roof over the entryway. Because this area has a flat roof, rolled roofing was used. This material had to be finished in some way at the edge and Pat Sheehy, our architect, designed a special edge treatment, as shown in the photos. Copper flashing was used both to ensure its longevity and to give it a very classic retro look. The flashing was secured with copper nails. Our roof is now 100% complete.

Sunday, July 17, 2011

Step 27 - Siding


Our siding is a combination of board-and-batten and cedar shingles. Both are a very authentic Craftsman look. The existing part of the house has been board-and-batten since 1995 (it was stucco before that). So the combination will blend nicely with the rest of the house.

The board-and-batten is rough-sawn exterior grade plywood with 1x wood battens spaced 16" apart. It is an economical way to go, and we will use it on the north side of the garage where it is less visible.

Shingles are somewhat expensive to install, so we went with an engineered unit from Shakertown. It is a row of real cedar shingles glued and stapled to an 8 ft. strip of plywood. This provides a lot of advantages. The backs of the shingles are really well protected from weather by the plywood and glue. They won't warp as much as individual shingles because the plywood holds them very flat. And they go up more quickly so there is a savings in labor cost. Even so, there are some intricate cuts that have to be made to fit the shingles around beams and other features. Mark Oleson has been doing most of that work.

Corners are usually a trouble spot for shingles. The Shakertown units come with corner pieces which makes that part of the siding much stronger and weather-tight. Overall it gives a beautiful look, and we are really happy with them.

Underneath everything is 60 minute building paper. All window openings are protected with a combination of Carlisle air and vapor barrier and Protecto-Wrap or Moistop. Everybody that looks at it is impressed with the level of workmanship that goes into every step.

Step 22 - Roofing, Part 2


Now that I'm back from vacation, it's time to get caught up with the status of construction.


This is the final stage of roofing. Brown Roofing completed it while we were gone, and it looks really great. The gabled roofs (over the garage and the California roof) have been shingled with regular asphalt shingles that match the rest of the house. The office and the cricket are flat so they got rolled roofing. We decided to put a few vents in the roof of the garage to keep the loft from getting too hot. There are a few details left to be taken care of, but otherwise the roof is done.

Thursday, July 14, 2011

What I Did on my Summer Vacation


A departure from construction details - here are some pictures from our trip to Reston, VA. We had a great time. You can probably tell from the pictures who was the focus of attention.