Friday, October 7, 2011

Step 37 - Flooring


The major construction elements of the project are essentially completed. Our focus now is on the flooring, painting, and interior decorating. Let's start with the flooring.

We already had laminate flooring (by Wilsonart) in the living room, and we wanted to buy more of the same for the expanded area. However, we learned that Wilsonart decided to get out of the flooring business, so we had to go to Plan B.

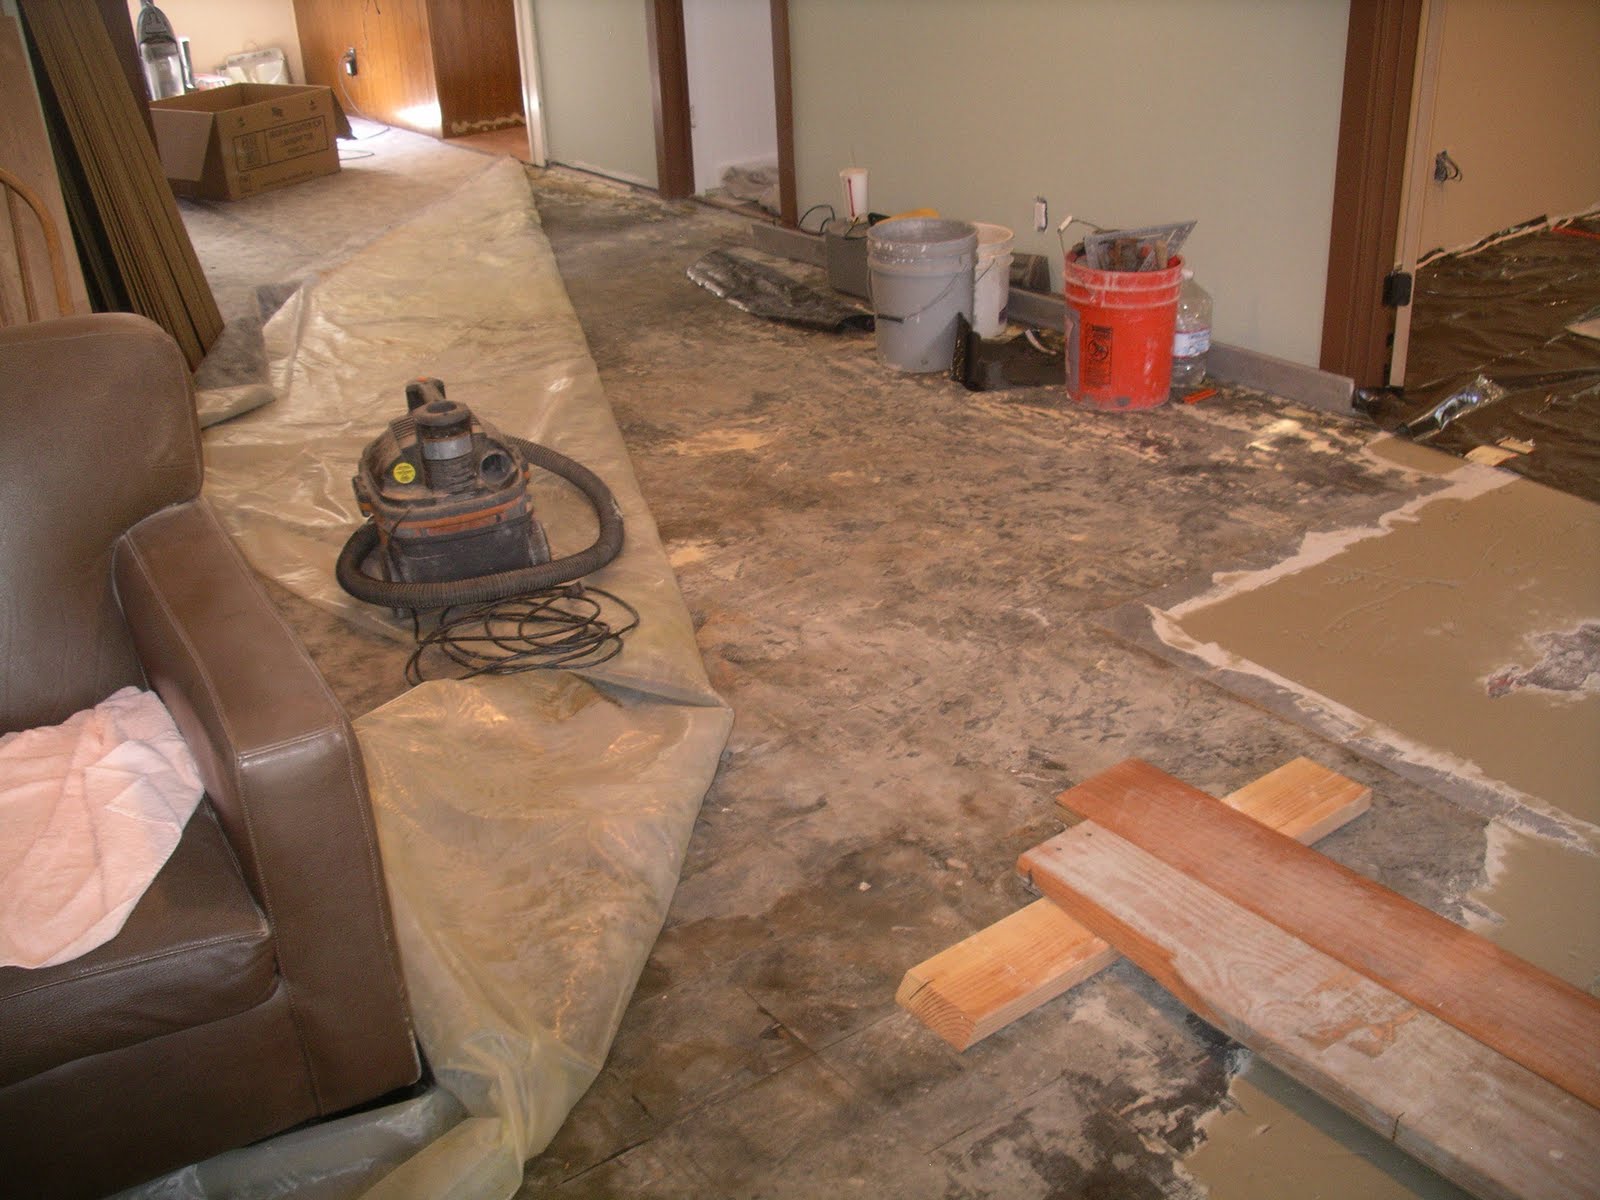
Plan B consisted of taking up all the existing Wilsonart flooring, re-using it in other rooms, and buying all new laminate for the living room. Our contractors (Mark, Al and John) took up the Wilsonart and determined which pieces could be reused in the new office and Sheila's sewing room.

But before any flooring could be put down, it was necessary to get the floors level, especially the office. John Etchells did the leveling. First, he ground down the high spots. Next he mixed up some "dry pack" which is cement mixed with very little water. Instead of the usual mud consistency, dry pack comes out looking like corn meal. John spread it over the area to be leveled and packed it down firmly. When dry it gives a very hard and perfectly level surface. In other areas, self-leveling concrete was poured.

Now the flooring can go down. First is a layer of plastic vapor barrier. This keeps moisture from coming up through the slab to the flooring. Next is a layer of padding. Lastly, the laminate flooring was laid down. There is no gluing or nailing. This took care of the office and sewing room.

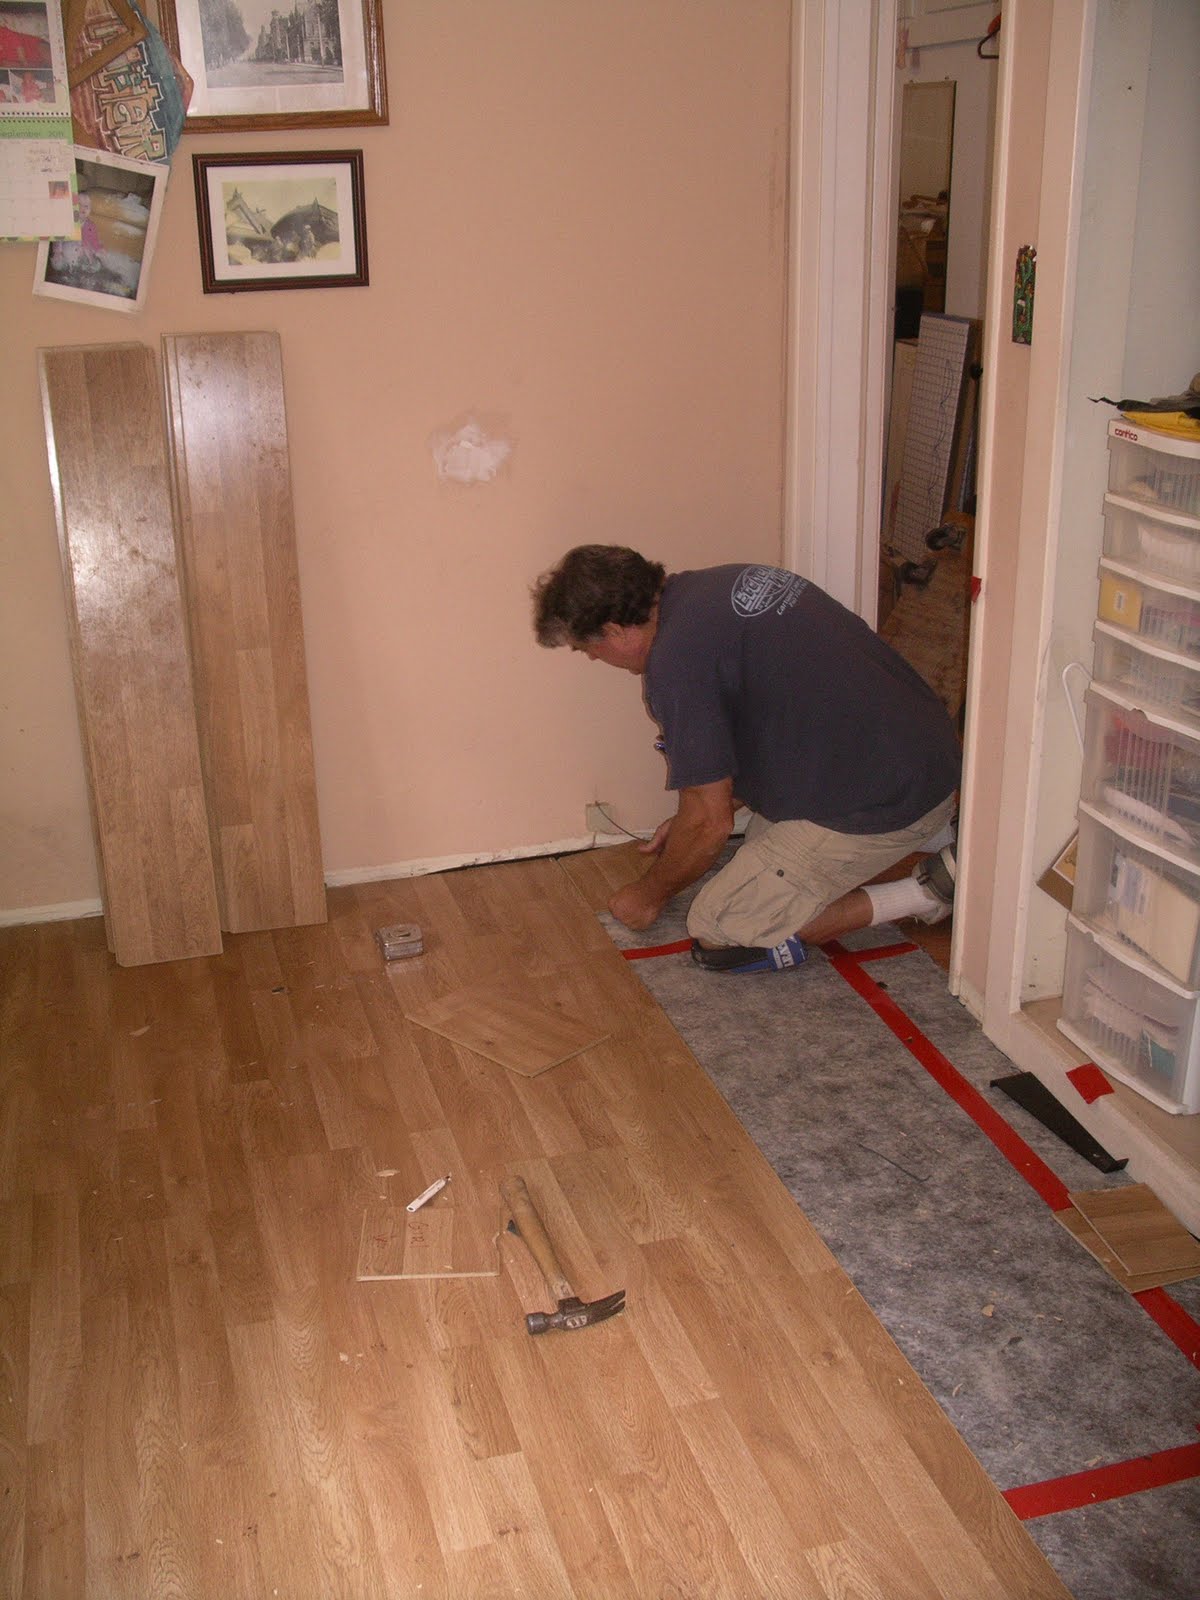
For the living room we bought Pergo laminate. The installation process was mostly the same as described above except that the pergo has padding already glued to the underside of the boards.

The end result is a good reuse of old material and a great new look for the living room.


Wednesday, September 14, 2011

Step 36 - Miscellaneous Interior & Exterior Details


The exterior of the house is nearly complete. At this point, a lot of details are getting finished both inside and outside the house.

I did a bunch more sanding of 4x4's for a trellis over the kitchen door on the back side of the house. Board and batten siding was also replaced there.

Mark and Al installed French doors on the office. They also installed craftsman style trim around the windows and doors.

Al shingled the post that holds up the trellis over the front walkway.

Al installed the railing for the garage loft.

Les installed the lanterns on either side of the garage door. Sheila and I installed the house numbers.

The house is really looking finished on the outside, but there is still work to be done on the inside.

Step 35 - The Laundry Room


It has long been Sheila's dream to have a laundry room to call her own, and now she has one. The construction details are very similar to a bathroom. Water resistant drywall (greenboard) is used on the bottom half of the walls. There are hot and cold water supply lines and a sewer drain line. As you can see, the color scheme is heavy on the white with black as an accent. The cabinets are from Ikea which was inexpensive and fit perfectly with the color scheme. To the right of the washer/dryer is a broom closet. The tile was done by John Etchells. The counter top is coming from Home Depot. Not shown is nice window and door trim by Mark and Al. I did the caulking and painting.

Tuesday, September 13, 2011

Step 34 - Finishing the Fireplace


Turning to the interior of the house, we tackled the slate and tile for the fireplace. This is John Etchells' specialty. We bought several pieces of irregular slab slate in Obsidian Black from Modern Builder in San Marcos. John cut them to fit the hearth and the surround for the firebox opening. He grouted the slate with black grout to give a uniform appearance, so it looks like one solid piece even though it is put together from several pieces. When the slate was complete, he laid out the green tiles (from Encinitas Tile) and the yellow insets (from International Tile in Solana Beach) on the floor to make sure the pattern was right. Then he applied tiles and grouted them with a terra cotta color grout. There was a lot of cutting and fitting involved, and John did a great job. Mark Stanfield is now working on the oak mantel/shelf above the tiles.

Wednesday, September 7, 2011

Step 33 - Garage Door


I don't have a lot of pictures for this step because it is so straightforward. We bought the garage door from John Brannon of Garage Doors West who also did the installation. The door is manufactured by Wayne Dalton. They have a lot of different styles to choose from. Ours is the Providence style with 12 windows. It is a steel door that has the appearance of wood but is not as heavy and easier to maintain. We got a Liftmaster motor. I think we're going to paint it but we'll deal with that later. It's really exciting to have a garage door, even if we can't drive into the garage yet.

Tuesday, September 6, 2011

Step 32 - Undergrounding the electrical line, part 2


I picked up a nasty computer malware somewhere in the ether and it has prevented me from posting anything to the blog for several weeks. It's fixed now, but so much has happened on the house that I don't know what to talk about next. I guess I will pick up with the completion of the electrical undergrounding. It's pretty mundane but it will maintain the order of steps that I have been trying to follow.

A contractor working for SDG&E came on the appointed day, equipped for everything. Using their cherry-picker, they pulled the new electrical line through the conduit and connected it to our new panel. Next they disconnected and removed the old line from the pole to the house. Finally, they installed a new "smart" meter and energized the new system.

Les Wannamaker took it from there. He installed all the circuit breakers and labelled them. Then he completed the installation of all the light fixtures, switches and outlets in the house. We are now electrically complete and up to date.

Saturday, August 6, 2011

Step 32 - Underground Electrical Line, Part 1


Our existing power line, cable TV and phone line go overhead from the pole to an old weatherhead near the south side of our house. Our electrical system has always been deficient, with two separate and obsolete panels and lots of oudated wiring. So now we will have one new electrical panel which will be on the north side of the garage. That would be problematic for running the line overhead, so we decided to put all 3 lines underground. San Diego Gas and Electric (SDG&E) is our electricity provider and they oversee the undergrounding process.

Mark Stanfield painted the route on the ground, then he and Miguel Gomez jackhammered the asphalt and dug the trench.

After SDG&E inspected the trench, Les Wannamaker (our electrician) laid the conduits in the trench from the pole to the new electrical panel. There are separate conduits for electricity, cable and phone. The electrical conduit has a rope in it to facilitate the next steps.

SDG&E came out again to "mandrill" the conduit. They run a torpedo-shaped device through the conduit to make sure there are no obstructions. We had no obstructions, so the end of the rope was tied off inside the panel.

The final steps will come next week when another SDG&E crew comes out to disconnect the power line from the pole, run it through the conduit, connect to the new panel and energize it. At that point all our electricity will come through the new system. Les will remove our two old electrical panels and Mark can put new siding over those walls. We will work with our phone company and cable provider later to get their lines in the new conduits.