


This step is different from the roofing details that I have described previously. This step involves putting on the roof covering that will protect everything from the weather. Construction people call this "drying in" the structure.
Brown Roofing is doing the job for us. It is a bit trickier than an ordinary roof. The garage is pretty straightforward because it is all new. There is a skylight in it but that is no big deal. However, the rest of the roof involves attaching new plywood roof to old roof boards. There are also multiple roof planes. The tinted skylight is over the office area. Notice the number of different roof planes. Just below the skylight is something called a "cricket". Its purpose is to tie together 3 or more roof planes. In addition to that we have some flat roof sections over the entryway and part of the office.
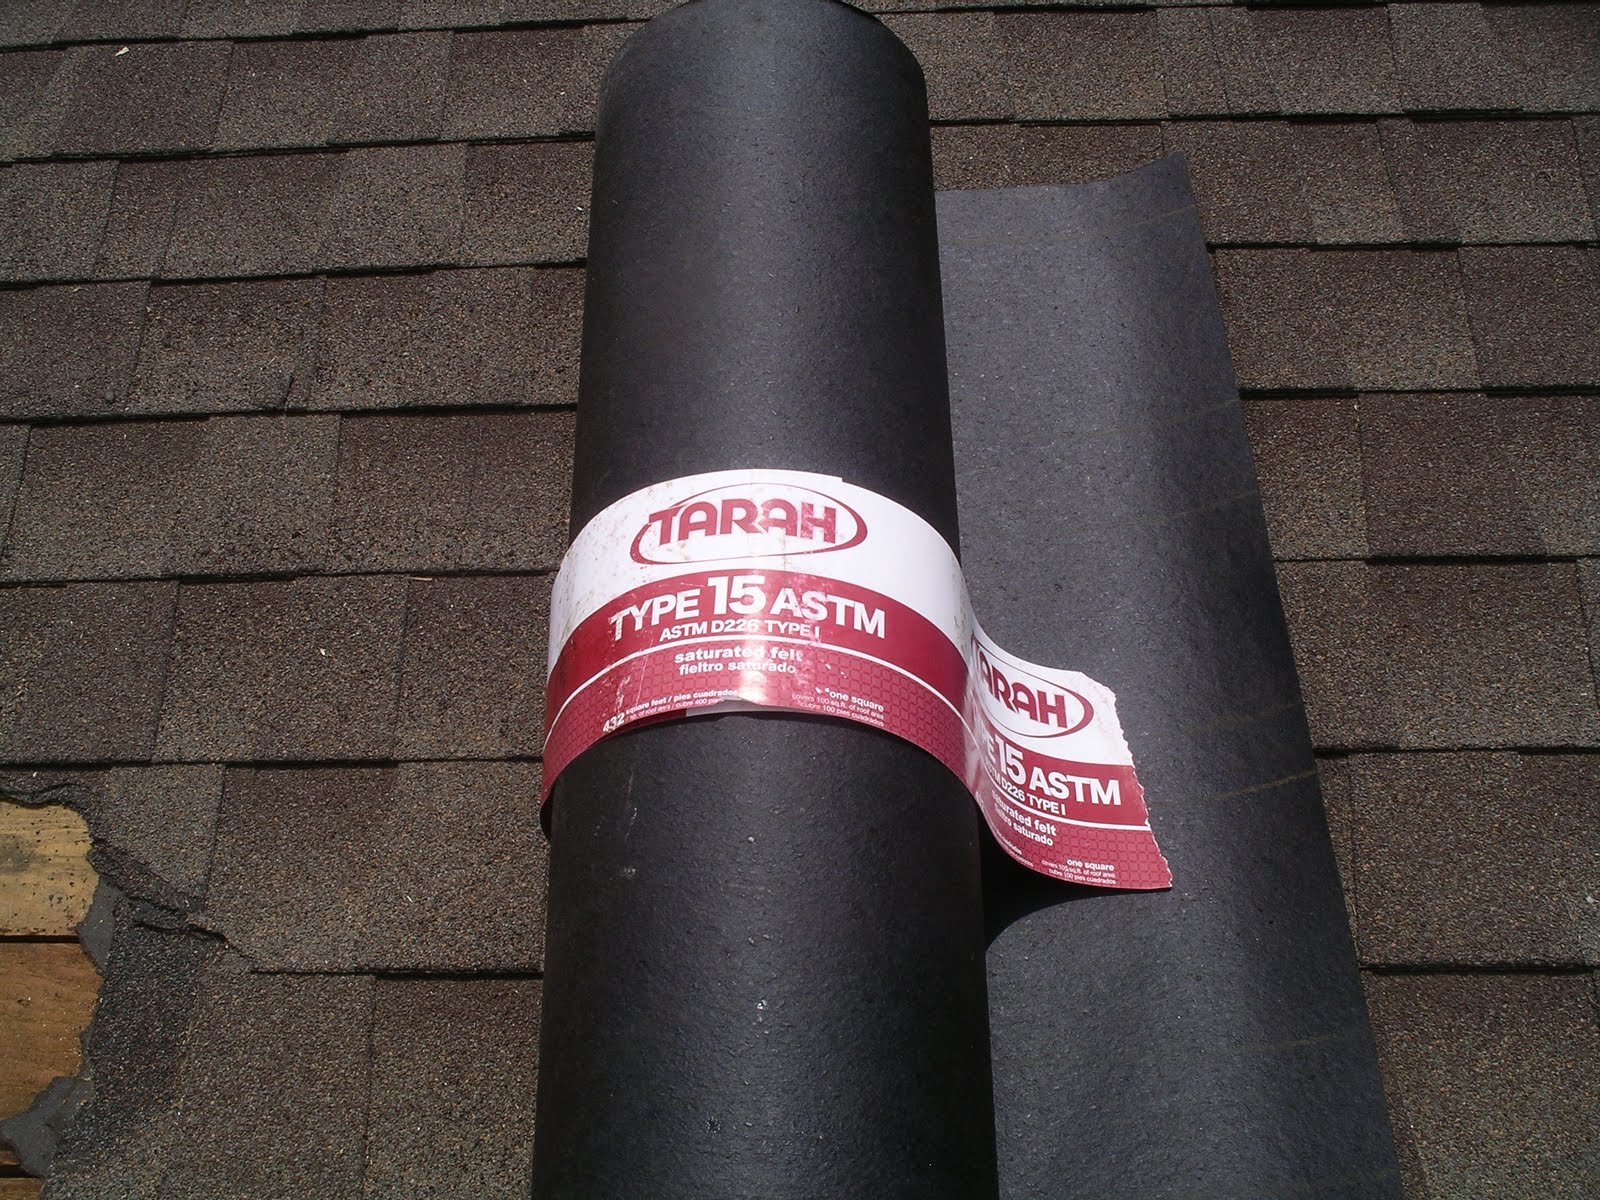
Andy and Steve Brown installed the first layers of material. The gabled roofs get a layer of 15 lb. roofing paper that is nailed down to the plywood. The flat roof areas get an updated version of a "torch down" roof. This used to be done with a torch that heated the tar causing it to stick to the wood, but that procedure is dangerous for obvious reasons. It's also really smelly. So Brown Roofing is using a new adhesive material that is applied at ambient temperatures. It sticks just as well and doesn't stink.
Andy and Steve are going to stop at this point to allow the painter to work. Then they will come back after the painter is done to finish applying the roofing material.
Here the rest of the roof involving additional new plywood roof, old house roof. There are multiple roof planes. Tinted skylight in the office.
ReplyDeletetorch on roofing
Your post is really good to read and understand and learn about the roofing. I would love to do this kind of work myself.
ReplyDeletecheap conveyancing